


Chapter 1 of 4 · Case-Based Learning
Case presentation
Case presentation and initial findings
Expert statements on this page
No expert statements were drawn from this page.
Host summaries · secondary, not cited in answers
Educational content from recorded physician discussions — not medical advice. Talk to your (or your child's) care team about your situation.
Video
Controversies in Congenital Diaphragmatic Hernia: Update Course 2018
41 min · Published Aug 2018
Video
Malrotation
42 min · Published Nov 2018
Video
Update Course 2021: APSA PDC UPDATES
Published May 2022
Podcast
Malrotation with Dr. Meera Kotagal
13 min · Published May 2023
Video
Update Course 2021: TOP PUBLICATIONS IN NON - PED SURG JOURNALS
22 min · Published May 2022
Video
BOB in Ped Surg - Lourenzo Sbragia, IBEROAMERICANA - Presentation
Published Feb 2023
Video
Impact of social determinants of health on outcomes in pediatric short bowel syndrome...
43 s · Published Aug 2026
Video
Advancements in Pediatric Intestinal Failure: Innovative Therapies and Improved Outcomes
17 min · Published Aug 2026
Podcast
Update Course Rewind: Omphalocele & Gastroschisis 2020
Miguel Guelfand · 15 min · Published Jul 2026
Video
Update Course Rewind 2025: Updates in NEC Management
11 min · Published Jul 2026
Video
Availability, utilization, and barriers to bowel ultrasound for necrotizing enterocolitis...
55 s · Published Jul 2026
Video
Malrotation Infant
Dr. Steve Rothenberg · 9 min · Published May 2026
Video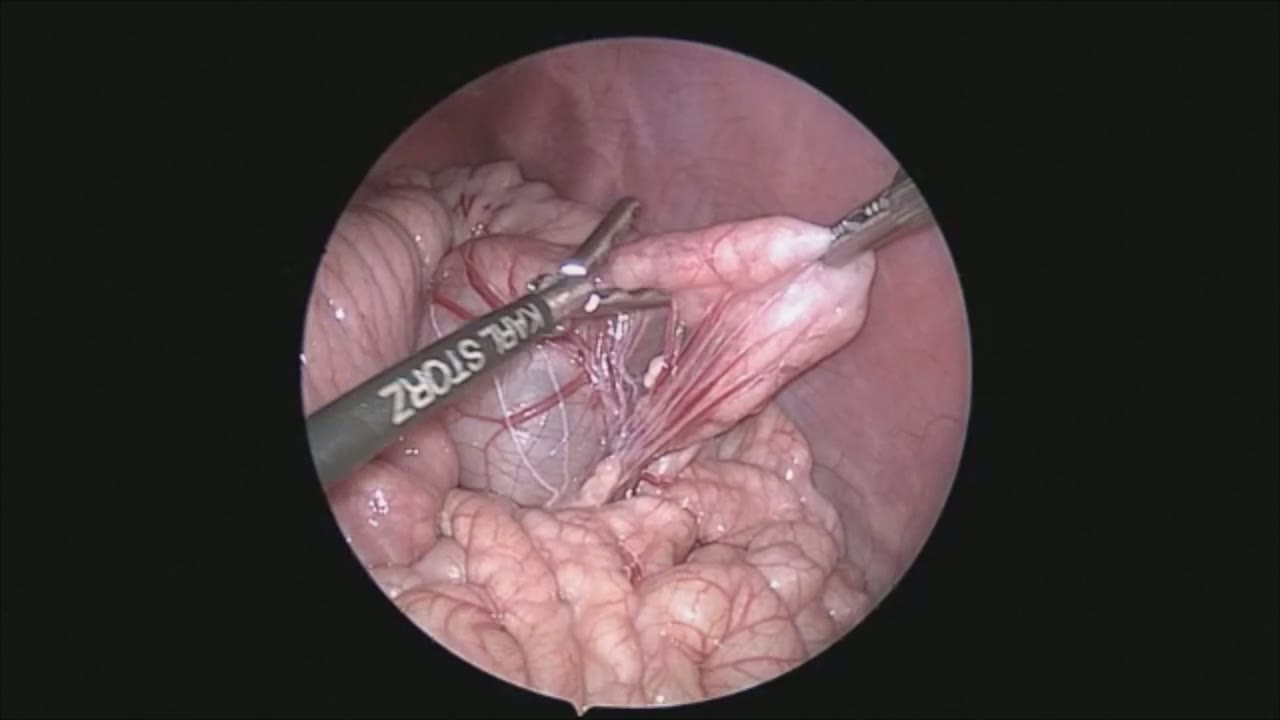
sealer demo
Dr. Steve Rothenberg · 3 min · Published May 2026
Video
pyloric knife
Dr. Steve Rothenberg · Published May 2026
Video
pulm artery LLL
Dr. Steve Rothenberg · 9 s · Published May 2026
Video
plication narrated
Dr. Steve Rothenberg · 6 min · Published May 2026
Video
percuvance redo nissen
Dr. Steve Rothenberg · 5 min · Published May 2026
Video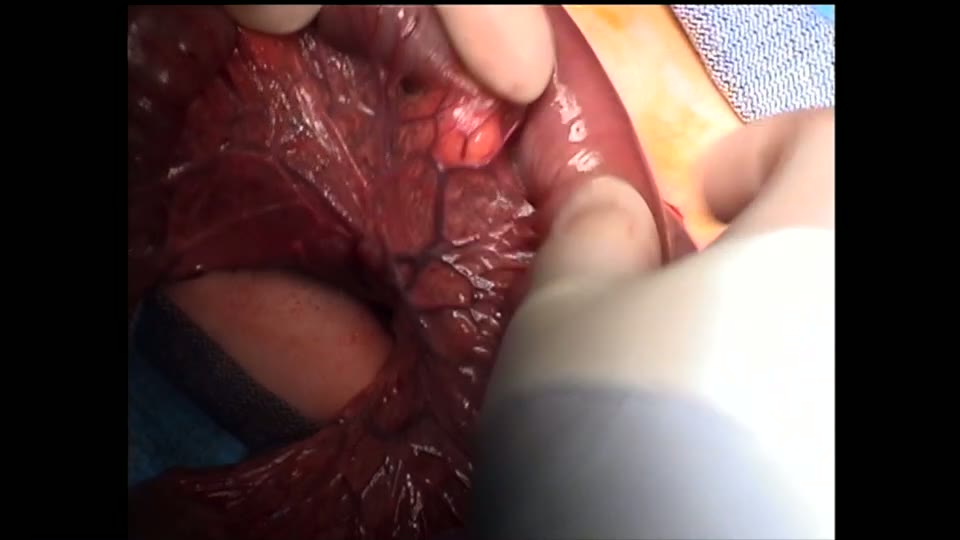
open bowel anast
Dr. Steve Rothenberg · Published May 2026
Video
Intestinal Atresia Types Explained: Grossfeld Classification for Pediatric Surgery
1 min · Published Sep 2026
Video
Derivation and validation of the Pediatric Community-Acquired Pneumonia Severity (PedCAPS) score: A prospective cohort study
50 s · Published Sep 2026
Video
FETO for Late-Diagnosed Severe Congenital Diaphragmatic Hernia (CDH) at Cincinnati Children's with Dr. Beth Rymeski
4 min · Published Sep 2026
Video
Severe Congenital Diaphragmatic Hernia (CDH) Case: FETO Management & Unexpected Findings with Dr. Beth Rymeski
3 min · Published Sep 2026
Video
Fetoscopic Endoluminal Tracheal Occlusion (FETO) Procedure: Step-by-Step Guide with Dr. Beth Rymeski
4 min · Published Sep 2026
Video
Choledochal Cyst Types Explained: Pediatric Surgery Fundamentals
1 min · Published Sep 2026
What the experts said
The key to this operation is to operate in front of the camera and run the bowel in front of the camera instead of chasing the bowel around the abdomen, which prevents disorientation and allows the surgeon to keep a clear view.
It is critical that the bowel be completely run from the duodenojejunal junction all the way to the ileocecal valve to ensure that all bands have been released.
The key to this operation is making sure that the mesentery has been broadly widened to prevent a twist in the future.
One should be able to see the superior mesenteric artery and vein coming straight down into the middle of the abdomen with no twists or obstruction.
A 12-year-old female presented with a three-month history of intermittent pain and weight loss with acute worsening of symptoms.
CT scan showed evidence of midgut volvulus.
Patient was positioned in dorsal lithotomy position with surgeon positioned between patient's legs.
5 millimeter ports were used for the procedure.
Upon entering abdomen, there was clear disorientation of the bowel with an internal hernia and complete twist of the bowel.
The anatomy was confusing because of 360-degree twist of the bowel as well as the internal hernia.
The superior mesenteric vessels were engorged because they had been twisted.
Running the bowel from proximal to distal places all the small bowel on the patient's right and the colon on the patient's left.
Using a 5mm stapler for appendix division allows keeping all ports at 5mm and not upsizing to a 12mm port for a larger stapler.
The operation took approximately 90 minutes and the patient did well.